

By The Tech Guy
In today’s rapidly evolving tech landscape, ensuring the safety of your home and loved ones has never been more crucial. The advent of DIY security systems has democratized access to sophisticated home security solutions, making it possible for homeowners to install and manage their systems with ease. This guide aims to provide an overview of installing a DIY security system, leveraging my expertise to navigate you through selection, installation, and interaction with your new system.
Related Products

Find the Right Security System for Your Home
When it comes to home security, one size doesn’t fit all. Answer a few quick questions and we’ll recommend a system that meets your needs and budget.
- Professional monitoring under $1/day & your first month free
- Easy to install yourself or choose optional pro install
- Complete control with the SimpliSafe® App
- 60-day money-back guarantee with free return shipping
Guide Details
Step 1: Selecting Your DIY Security System
Assess Your Needs
Before diving into the installation process, it’s essential to assess your security needs. Consider the size of your home, the number of entry points, indoor and outdoor monitoring requirements, and any specific features you might need, such as motion detection, night vision, or smart home integration.
Choose the Right System
DIY security systems range from basic setups with a few sensors and a camera to comprehensive systems that include multiple cameras, sensors, and smart home integration. Look for systems that offer expandability to add more sensors or cameras as needed. Brands like SimpliSafe, Ring, and Arlo offer various options catering to different needs and budgets.
Consider Connectivity Options
Most DIY systems use Wi-Fi, but it’s vital to consider a system with cellular backup in case your internet goes down. Also, check for compatibility with smart home ecosystems like Google Assistant, Amazon Alexa, or Apple HomeKit for enhanced integration and control.
Step 2: Planning Your Installation
Map Out Your Device Placement
Identify strategic locations for your cameras and sensors. Place cameras at entry points, common areas, and any vulnerable spots outside. Install motion sensors in high-traffic areas and entry sensors on doors and windows. Ensure cameras have a clear view and sensors are placed according to manufacturer guidelines for optimal performance.
Gather Your Tools
Most DIY systems require minimal tools for installation, such as a screwdriver, drill, and possibly a ladder for mounting cameras. Ensure you have all necessary tools and mounting hardware before beginning the installation.
Step 3: Installing Your System
Setting Up the Hub or Base Station
The hub or base station is the heart of your DIY security system, communicating with all the sensors and cameras. Place it in a central location within your home. Connect it to power and your internet router, following the manufacturer’s instructions for any initial setup procedures.
Installing Sensors and Cameras
Follow the manufacturer’s instructions for each device. Use adhesive strips for a no-drill installation or mounting hardware for a more permanent setup. Ensure each device is securely attached and positioned for optimal coverage.
Installing a Door Sensor
- Clean the surface where you’ll place the sensor and its magnet.
- Attach the sensor to the door frame and the magnet to the door, ensuring they align when the door is closed.
- Test the sensor by opening and closing the door, observing the system’s response to ensure proper installation.
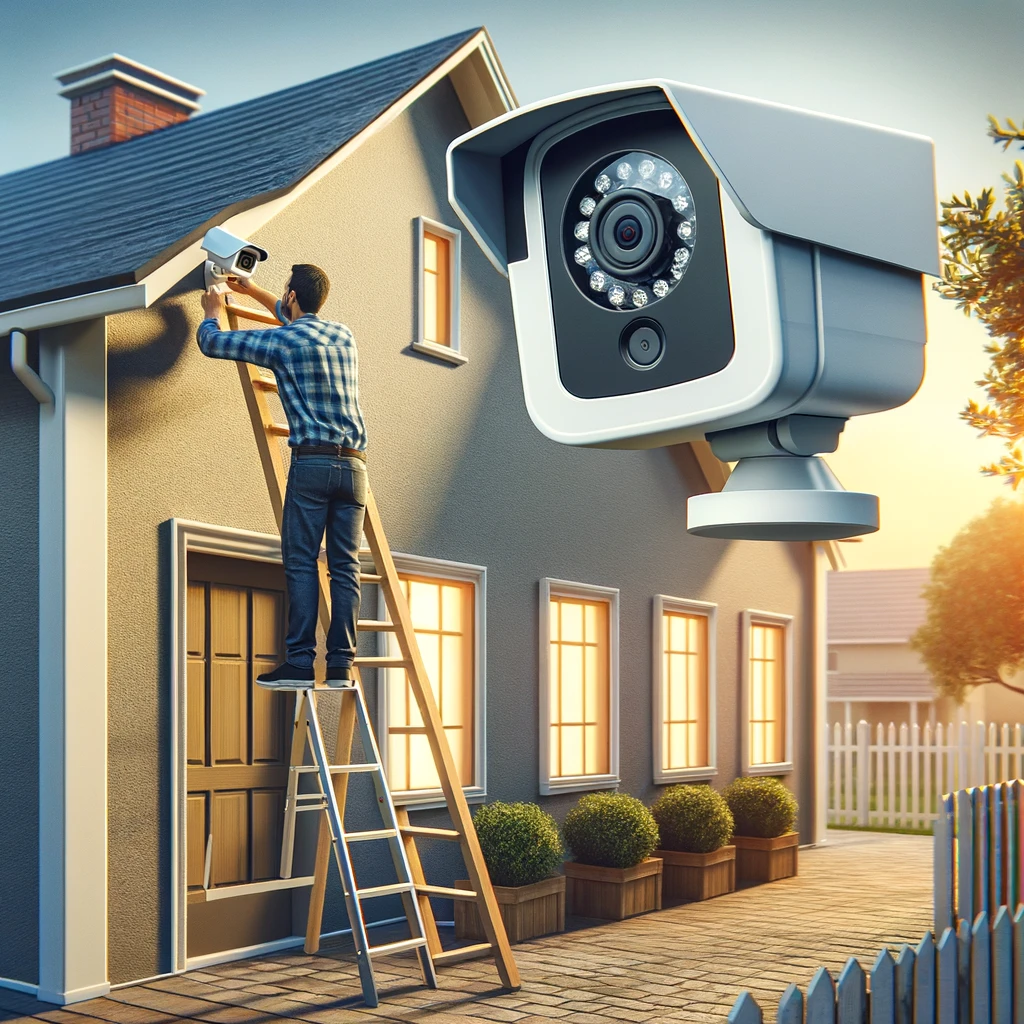
Mounting an Outdoor Camera
- Choose a location that offers a wide view of the area you want to monitor, avoiding direct sunlight or backlighting.
- Drill pilot holes for the mounting screws, if required.
- Mount the camera bracket, attach the camera, and adjust the angle for the best view.
- Connect the camera to power (if not battery-operated) and ensure it’s connected to your system.
Activating and Testing Your System
Once all devices are installed, follow the manufacturer’s instructions to activate your system. Test each component to ensure it’s working correctly. Walk in front of motion sensors, open and close doors and windows with sensors, and check live feeds from cameras to verify everything is operational.

Step 4: Interacting with Your System
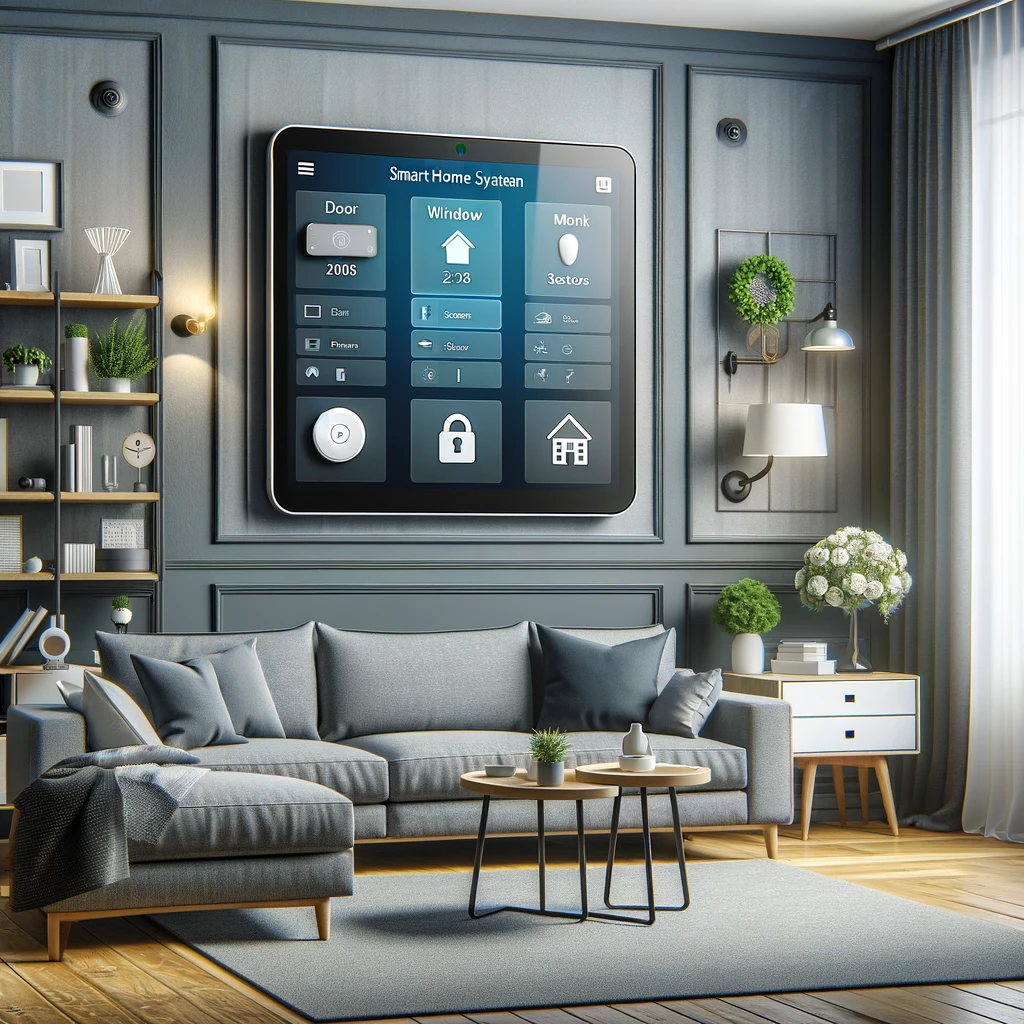
Using the Mobile App
Most DIY systems come with a mobile app that lets you monitor your home in real-time, receive alerts, and manage your system remotely. Familiarize yourself with the app’s features, such as live view, playback, system arm/disarm, and settings for notifications.
Setting Up Notifications
- Open the security system’s app and navigate to the notifications settings.
- Customize which alerts you receive, such as when doors are opened or motion is detected.
- Adjust the sensitivity of motion sensors to reduce false alarms from pets or passing cars.
Integrating with Smart Home Devices
If your system supports smart home integration, connect it to your smart home hub or devices for enhanced functionality. For instance, set up routines to automatically turn on lights when motion is detected or lock smart locks when the system is armed.
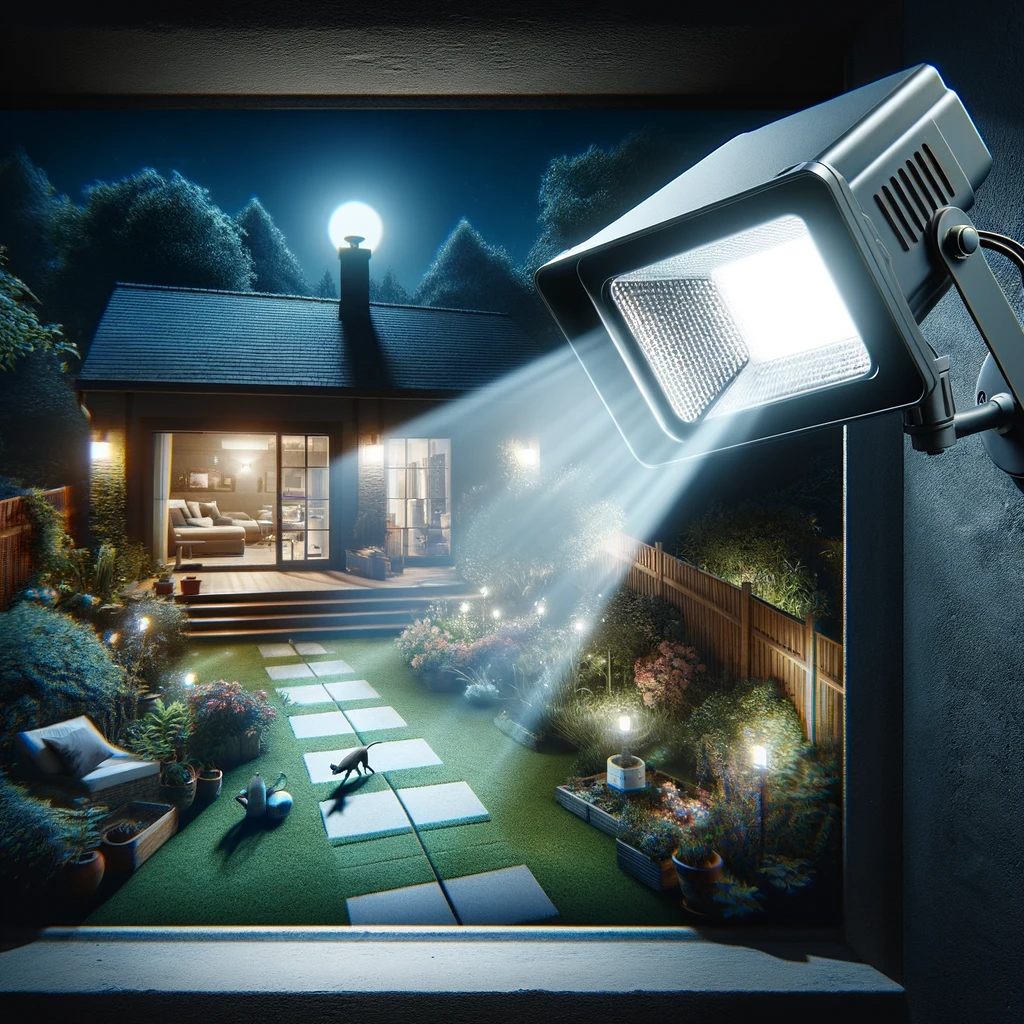
Creating a Routine with Amazon Alexa
- Open the Alexa app and navigate to the Routines section.
- Create a new routine that turns on smart lights when your security camera detects motion at night.
- Select the trigger (motion detection) and the action (turning on lights), specifying the devices and time conditions.
Step 5: Maintenance and Updates
Regularly Check Your Devices
Inspect and test all components of your system periodically to ensure they’re functioning correctly. Check device batteries and replace them as needed. Clean camera lenses and sensor surfaces to maintain optimal performance.
Keep Your System Updated
Manufacturers often release firmware updates for security systems to improve functionality and security. Regularly check for and install these updates through the system’s app to ensure your system is up-to-date.
Conclusion
Installing a DIY security system is a rewarding project that enhances the safety and security of your home. By carefully selecting the right system, planning your installation, and following the steps outlined in this guide, you can successfully install and interact with your DIY security system. Regular maintenance and updates will ensure your system continues to protect your home efficiently. Empower yourself with the peace of mind that comes from knowing you’ve taken proactive steps to secure your home and loved ones.
Subscribe to hear about new gadgets!
Join today and make informed decisions with honest gadget reviews and handpicked recommendations.