


By The Tech Guy
Installing outdoor cameras around your home is an essential step in enhancing security and monitoring your property effectively. With advancements in technology, homeowners now have access to a range of options to keep their homes safe. This guide will walk you through the process of choosing, installing, and interacting with an outdoor camera system, ensuring you can undertake this task with confidence and expertise.
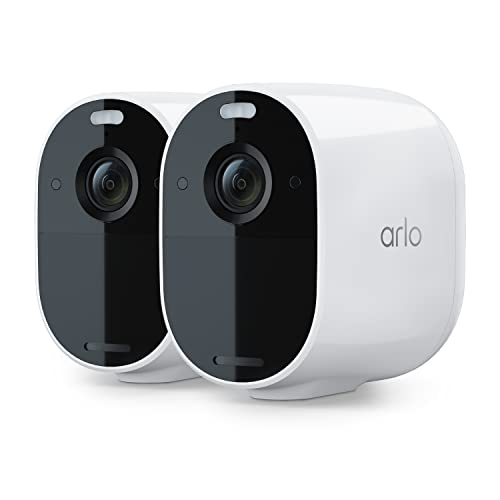
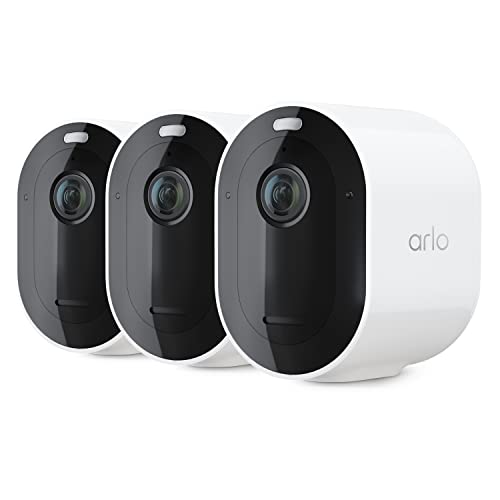
Related Products
Guide Details
Understanding Outdoor Cameras
The first step in setting up an outdoor camera system is to understand the different types of cameras available and their specific functionalities:
- Bullet Cameras: Ideal for targeting a specific area, offering a long-range view.
- Dome Cameras: Discreet and resilient, suitable for areas needing wide coverage.
- Wireless Cameras: Offer flexibility in placement and easy installation without the need for running cables.
- Wired Cameras: Provide a stable connection and continuous power supply, suitable for areas with reliable power access.
Consider features such as resolution, night vision, motion detection, and weather resistance when selecting your cameras.

Planning Your Installation
- Site Survey: Walk around your property to identify key areas that require monitoring, such as entry points, driveways, and secluded areas. This will help determine the number and types of cameras needed.
- Connectivity and Power: Decide whether you prefer wired or wireless cameras based on the availability of power sources and your home’s Wi-Fi strength in outdoor areas.
- Compliance: Ensure your installation complies with local laws regarding privacy and surveillance.
Installation Steps
- Tools and Materials:
- Prepare the necessary tools, including a drill, screwdriver, ladder, and the mounting kit provided with your cameras.
- Mounting the Cameras:
- Choose a high vantage point to prevent tampering and ensure a clear view.
- Mark the drilling points, drill holes, and secure the mounting bracket using screws.
- Wiring (for Wired Cameras):
- Route the power and video cables from the camera to the power source and DVR/NVR system. Consider using conduits to protect wires from weather and tampering.
- Setting Up Wireless Cameras:
- Ensure your camera is within your Wi-Fi network’s range. Some models come with a QR code for easy pairing with your home network through a mobile app.
- Power and Testing:
- Connect your cameras to the power source. For wireless cameras, insert batteries or connect to a nearby power outlet.
- Test the camera feed to ensure proper operation and adjust the camera angle as needed for optimal coverage.
Configuration and Interaction
Once installed, configuring your camera system is crucial for maximizing its effectiveness:
- Software Installation: Install the camera manufacturer’s app on your smartphone or computer to access the camera feed and settings.
- Motion Detection Settings: Configure motion detection settings to control the sensitivity and specify areas of interest for alerts.
- Alerts: Set up push notifications or email alerts for detected motion, ensuring you’re informed of any activity around your home.
- Night Vision: Adjust the settings to optimize night vision capabilities, ensuring clear images in low light conditions.
- Storage Options: Decide between cloud storage or a local storage solution like an NVR/DVR for saving recordings. Consider the storage capacity and retention period based on your needs.
Example Setups
Front Door Surveillance
- Camera Choice: A high-resolution bullet camera with motion detection and night vision.
- Installation: Mounted above the front door, providing a clear view of anyone approaching.
- Configuration: Set up motion alerts for any activity in the front door area, especially during nighttime.
Driveway Monitoring
- Camera Choice: A dome camera with a wide-angle lens to cover the entire driveway.
- Installation: Positioned to overlook the driveway without obstructions, mounted on an exterior wall or under eaves.
- Configuration: Continuous recording during nighttime with motion-triggered alerts during off-hours.

Interacting with Your Camera System
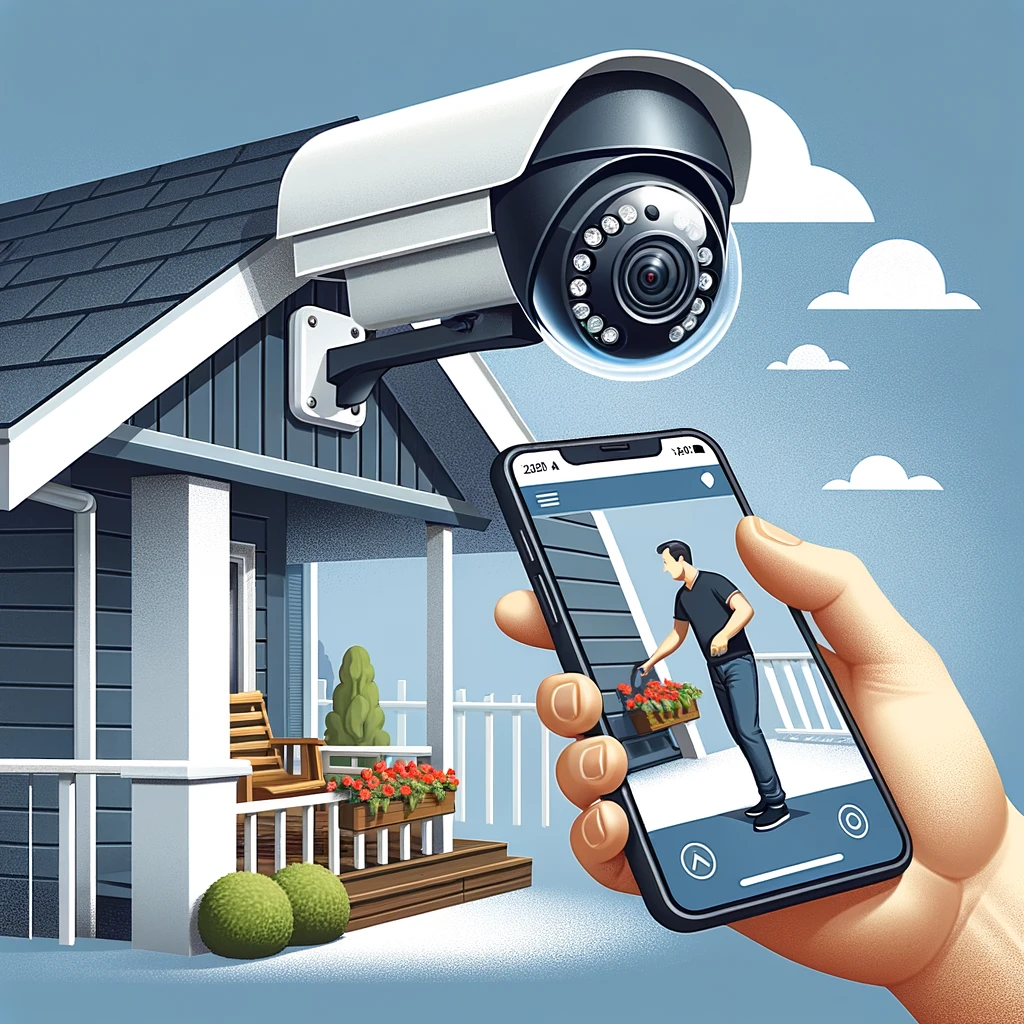
- Live Viewing: Access real-time footage from anywhere using your smartphone or computer, allowing for immediate response to alerts.
- Playback and Review: Search through recorded footage based on date and time or event markers, crucial for investigating incidents.
- Sharing Access: Grant access to family members or trusted individuals, enabling them to monitor the camera feed.
- Maintenance: Regularly check and clean your cameras, ensuring clear image quality and reliable performance.
Conclusion
Installing outdoor cameras requires careful planning, from selecting the right type of cameras to choosing their placement and configuring settings for optimal surveillance. By following this guide, homeowners can enhance their property’s security, deter potential intruders, and gain peace of mind. Remember, the effectiveness of your outdoor camera system depends not only on the installation but also on regular maintenance and updates to the system’s software and hardware as needed.
Subscribe to hear about new gadgets!
Join today and make informed decisions with honest gadget reviews and handpicked recommendations.